Intro#
I have used Linux quite a lot so far, but it was all on cloud platforms like AWS or virtual environments like VMware, and I had never physically installed it myself. Actually, I have installed Windows exactly once
Recently, I found a used mini PC that I liked, so I plan to turn it into my own home server.
- Mini PC (Chatreey T9H N150)
- USB drive (at least 16GB to be safe)
- Wired keyboard, etc.
0. Messing Up Windows#
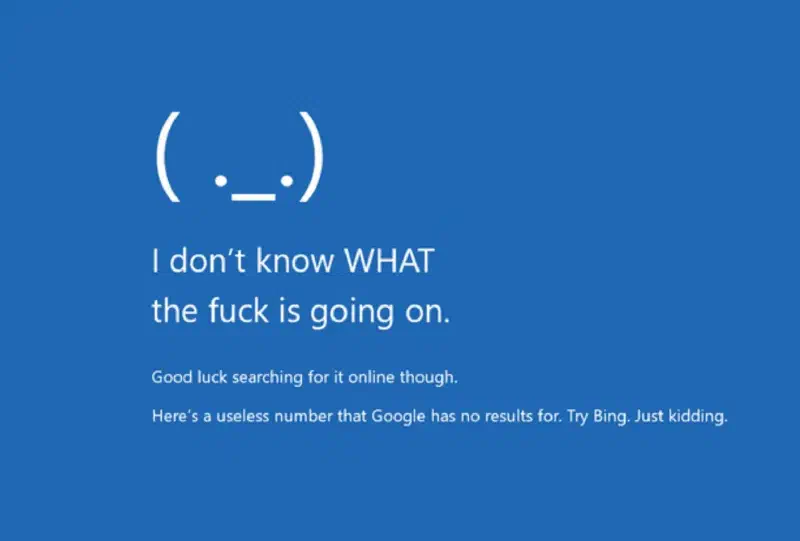
For some reason, almost every mini PC comes with a genuine Windows 11? installed. Since I’m going to wipe everything anyway and use it as Linux, let’s freely mess up Windows. Ask an LLM, “I’m going to wipe everything and use this as Linux, so tell me a command that will horribly destroy Windows,” and try triggering a blue screen. When else would I get to try this?
1. Creating a Bootable USB#
First, download the Linux iso you want to use and create a USB drive to boot Linux from.
Since I only need the CLI, I chose Ubuntu Server.
After that, use an app to flash the USB as a bootable USB. The app you use depends on your OS, and since I’m on macOS, I used balenaEtcher. After flashing it, the USB may not mount normally, so don’t panic.
2. Installation#
If you get stuck during installation, just unplug the power and start over, so don’t be scared. It will be annoying later, so plug in a LAN before installing if possible.
Boot Menu#
Now it is finally time to install Linux
Turn on the mini PC and repeatedly press F71, then the following boot menu will appear.
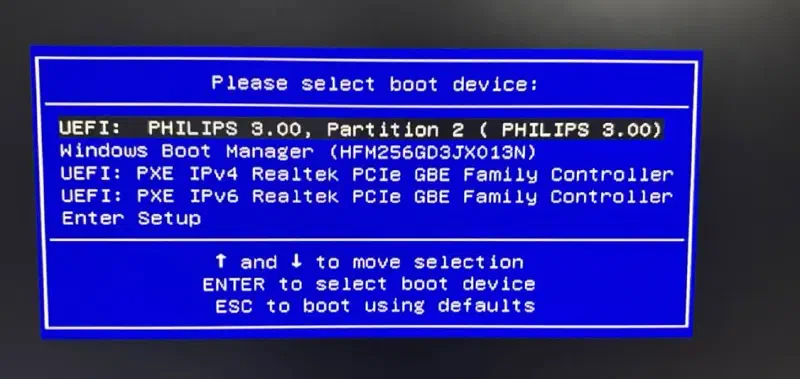
Select the USB here, and you will enter the Linux installation screen.
Initial Setup#
The first step is language selection, and just choose English no matter what.
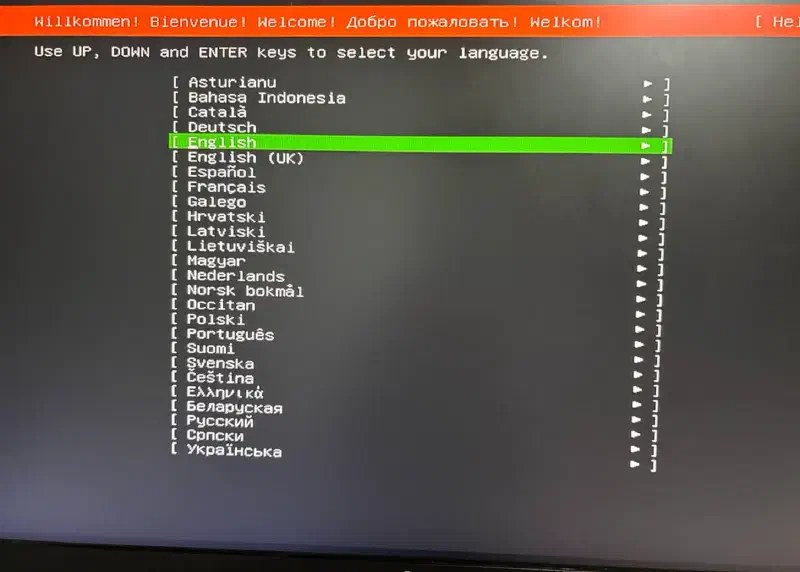
After that, keyboard, installation type, network, proxy, mirror settings, and so on will appear. If there is nothing unusual, press DONE until you reach the Storage Configuration
Storage Configuration#
This is the step where you decide how to use the SSD. If you just skip through this, you might not even be able to use half of the already-small SSD. Do not take this lightly, and get help from Google and an LLM.
First, select Use an entire disk and Set up this disk as an LVM group like in the screenshot. When you move to the detailed summary screen, look carefully at the free-space at the bottom.
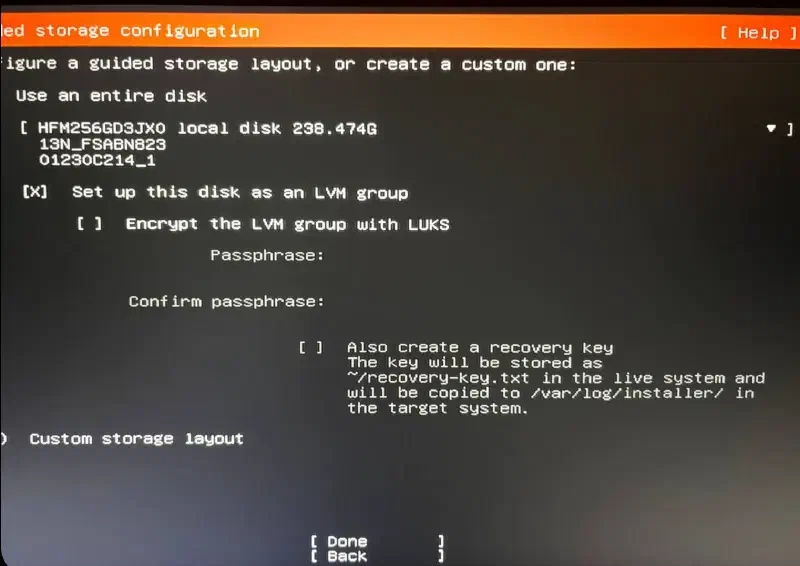
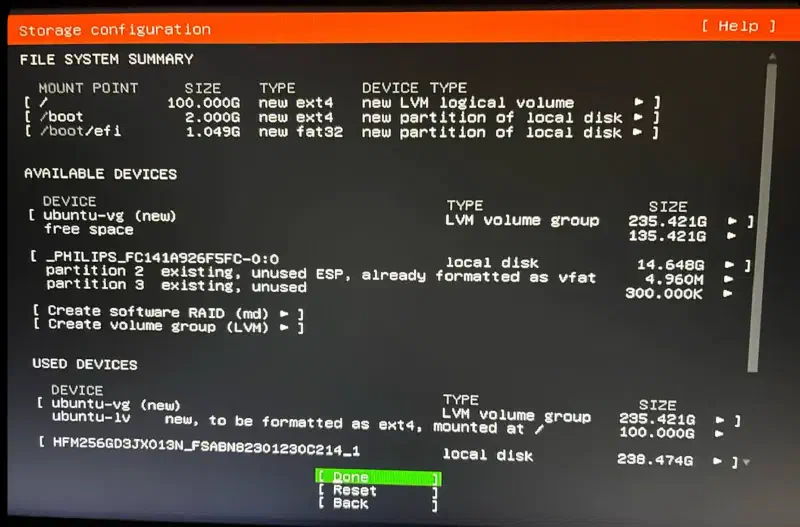
Even if you selected Use an entire disk, the root filesystem (/) may not use the entire disk. Since this PC will be used only for Linux anyway, assign all of it.
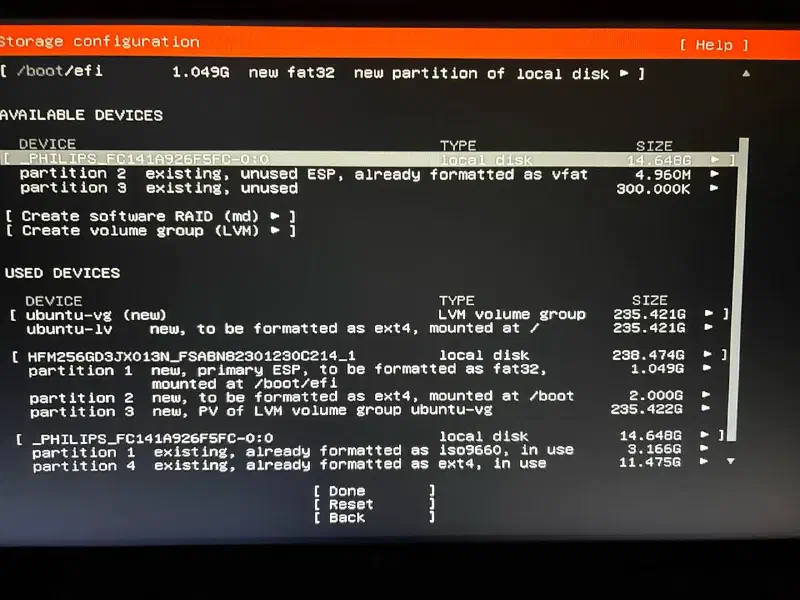
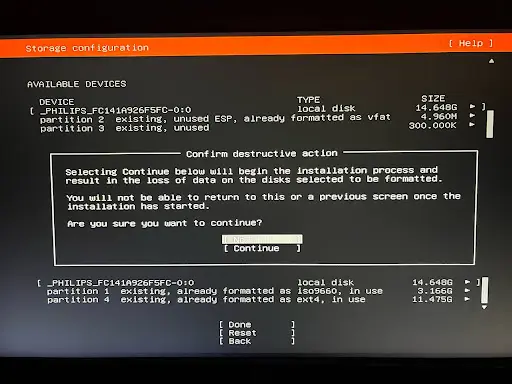
After finishing the configuration and pressing Done, a warning will appear saying that a destructive action will be performed. Let’s Continue.
Profile Setup#
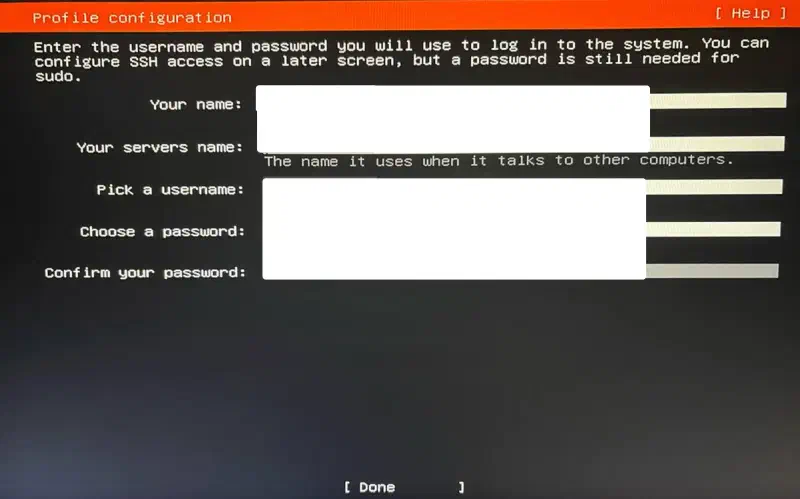
This is the step where you create the account used to log in to the server. The account created here is automatically added to the sudo group, so be careful not to forget the password, or things will get very annoying.
SSH configuration#
I will skip the explanation. Just install it no matter what.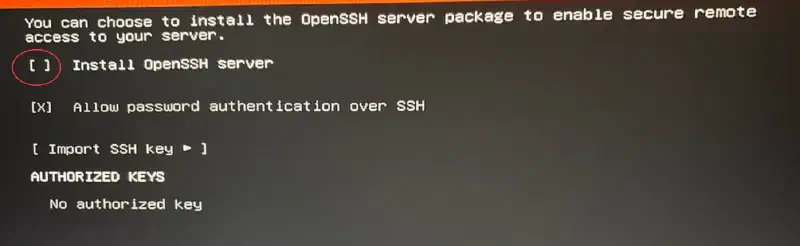
If options like Ubuntu Pro or Featured Server Snap appear before or after this, ignore them.
Installation Complete & Booting#
When the installation finishes, a failure message may appear, but don’t be scared. Follow the message on the screen, unplug the bootable USB, and reboot. Then you will see a boot screen like the ones from hacker movies.

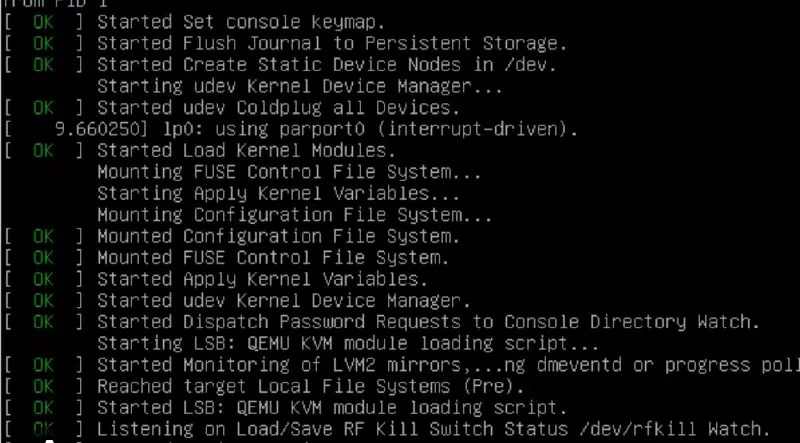
After loading is complete, enter the username and password you created in Profile Setup, and you are done. As a test, find the IP address with hostname -I, confirm that you can connect from another PC via SSH, and then unplug the keyboard and monitor connected to the mini PC.
TMI - Restoring the installation USB
The USB used for installation will no longer mount on the computer. If you are using a MacBook, insert the USB, then open Disk Utility -> View -> check Show All Devices -> select the USB -> click Erase, and you can use it again.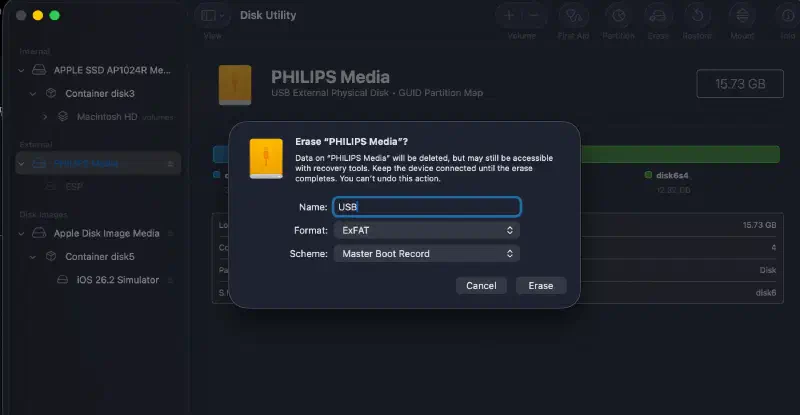
Final#
After all the trial and error, I finished installing Ubuntu. But since this PC can only be accessed from my local network, it feels a bit lacking to call it a “server”. Now it’s time to configure it so I can access it from anywhere.
3-POINT#
- I bought a mini PC.
- I installed Ubuntu Server.
- Continued in the next post….
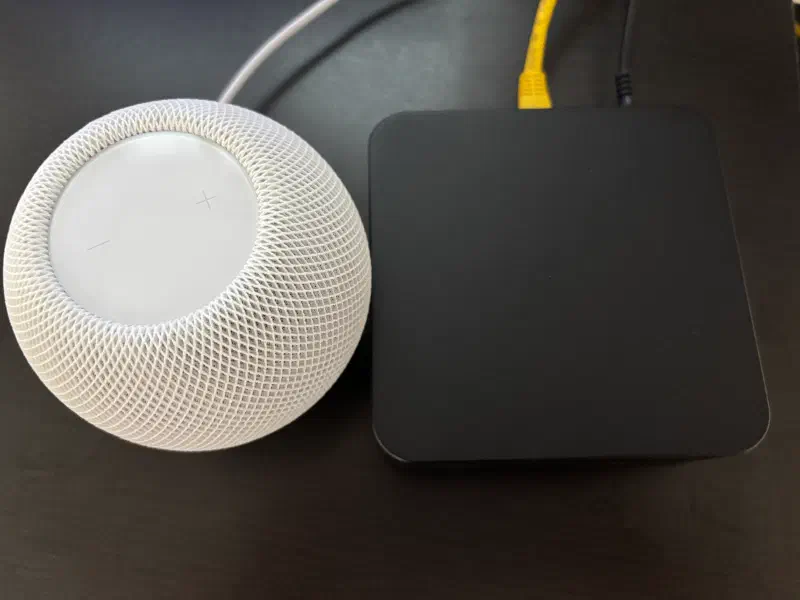
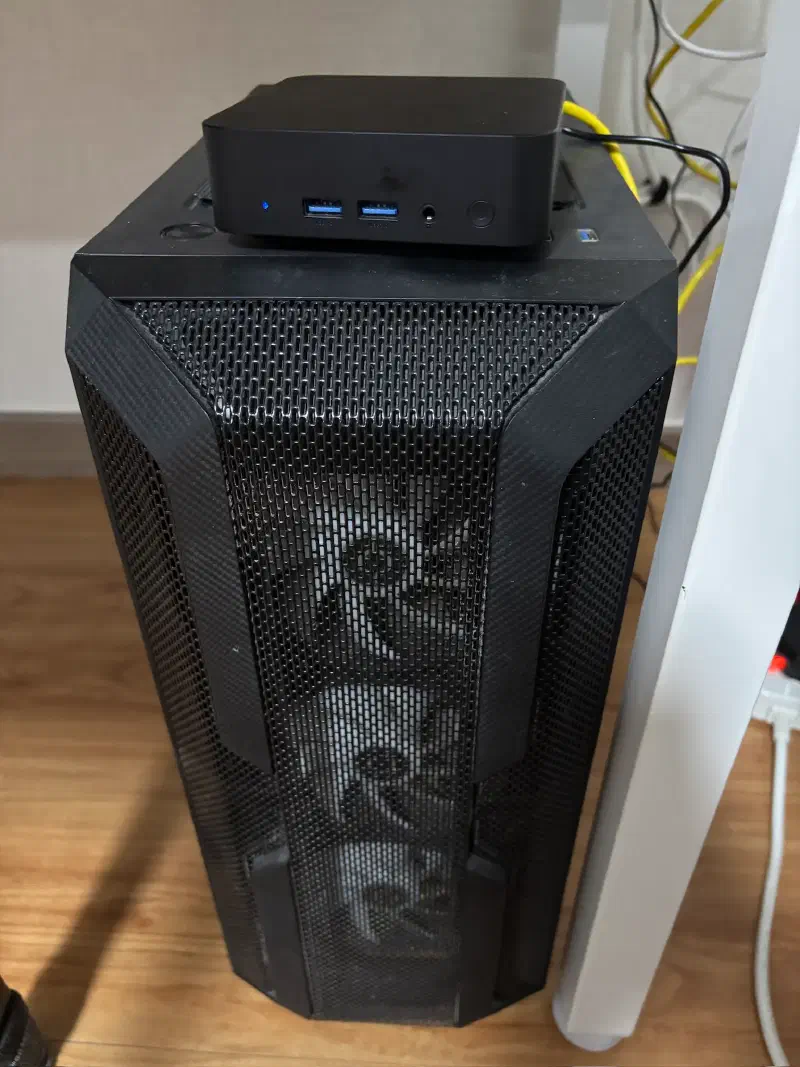
My tiny and precious home server photos
Boot device selection. The key can differ depending on the motherboard or manufacturer. ↩︎